內容簡介
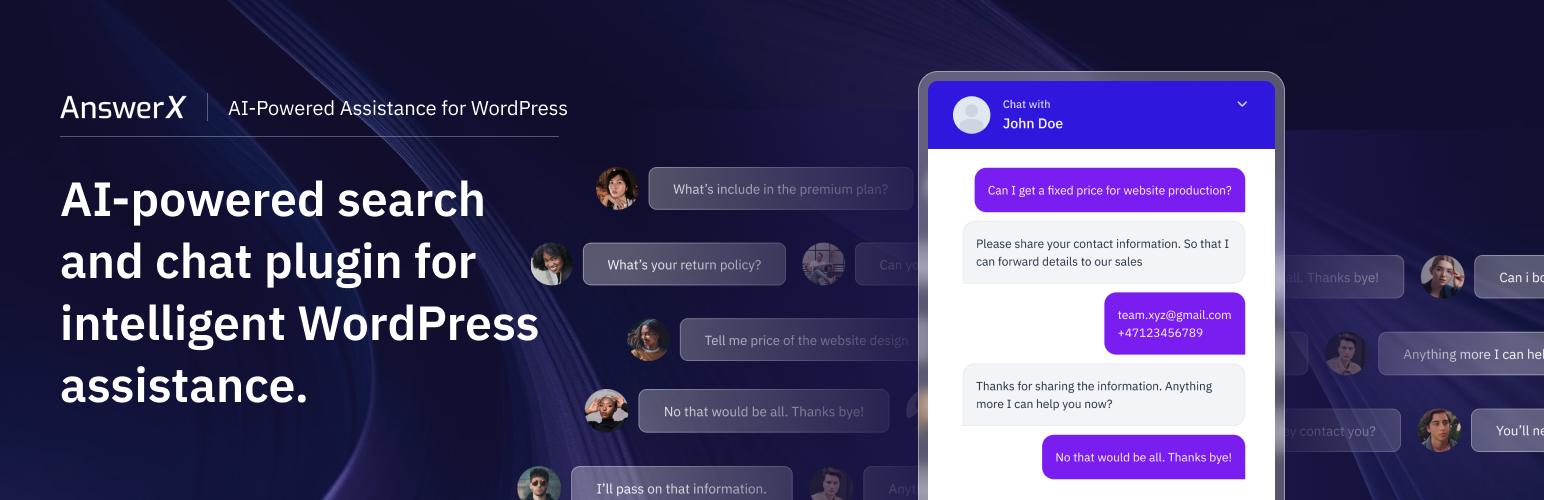
AnswerX AI Search & Chat 外掛將您的 WordPress 網站與 MotherX AI 連接,透過您的內容回答訪客問題,提供搜尋結果和聊天小工具,提升用戶互動體驗。
【主要功能】
• 連接 MotherX AI 提供即時回答
• 自訂小工具設計與配置
• 設定知識來源與爬蟲頻率
• 追蹤對話紀錄與潛在客戶
• 提供 AI 互動與效能分析
外掛標籤
開發者團隊
原文外掛簡介
AnswerX AI Search & Chat connects your WordPress site to MotherX AI, which answers your visitors’ questions using your own content — in search results, in a chat widget, or both.
The plugin does one job: it connects the site and loads the widgets. Everything else is configured in your MotherX dashboard, where you can see the result immediately and change it without touching WordPress:
✅ Widget design — colours, logo, position, size, wording and language
✅ Knowledge sources — which pages get crawled, how often, and what to exclude
✅ Conversation logs and leads
✅ Analytics on AI interactions and performance
✅ Plan, usage and team members
To learn more about AnswerX and explore its features, visit https://www.motherx.ai/.
Third-Party Service Disclosure
This plugin requires an account with MotherX AI, a third-party service operated by GetOnNet AS, and does not function without one.
Once connected, the plugin:
sends your API key, site URL and sitemap URL to https://api.motherx.ai/ to register your site and read back your company name, plan and crawl sources;
loads a widget script from https://app.motherx.ai/widget.js on the front end of your site, which fetches its own configuration and sends visitors’ questions to MotherX in order to answer them;
allows MotherX to crawl the public pages of your site to build the knowledge base that answers those questions.
Service terms: https://www.motherx.ai/terms
Privacy policy: https://www.motherx.ai/privacy
Uninstalling the plugin removes only its WordPress settings. Your MotherX account, knowledge sources and conversation history are untouched and remain manageable from the dashboard.
How to Use the Plugin
Install and activate the plugin.
Go to AnswerX in the admin menu.
Paste the API key from your MotherX dashboard (Settings → API keys) and click Connect.
That’s it. The chat bubble and the search modal appear on your site, and your site is registered for crawling automatically.
Don’t have an account? The connect screen links straight to sign-up.
🚀 Using the Shortcode
To place a search field inside your content, use the shortcode:
[answerx_search]
You can place this in pages, posts, sidebars, or any widgetized area, and more than once on the same page.
🔧 Supported Attributes:
class – Add a custom class to the container
style – Inline styles for the container (width, alignment, margins)
[answerx_search class=”my-container” style=”max-width: 480px; margin: 0 auto;”]
Placeholder text, button label, colours, size and language all come from your MotherX dashboard, so the field matches the rest of your AI experience without being styled twice.
For backwards compatibility the shortcode still accepts input_class, button_class, input_style, button_style, placeholder and button_text, but as of 1.1.0 they are ignored — those are dashboard settings now.
🎨 Using Elementor
Drag the AnswerX AI Search widget onto any page. It offers alignment and width controls; everything else comes from the dashboard.