內容簡介
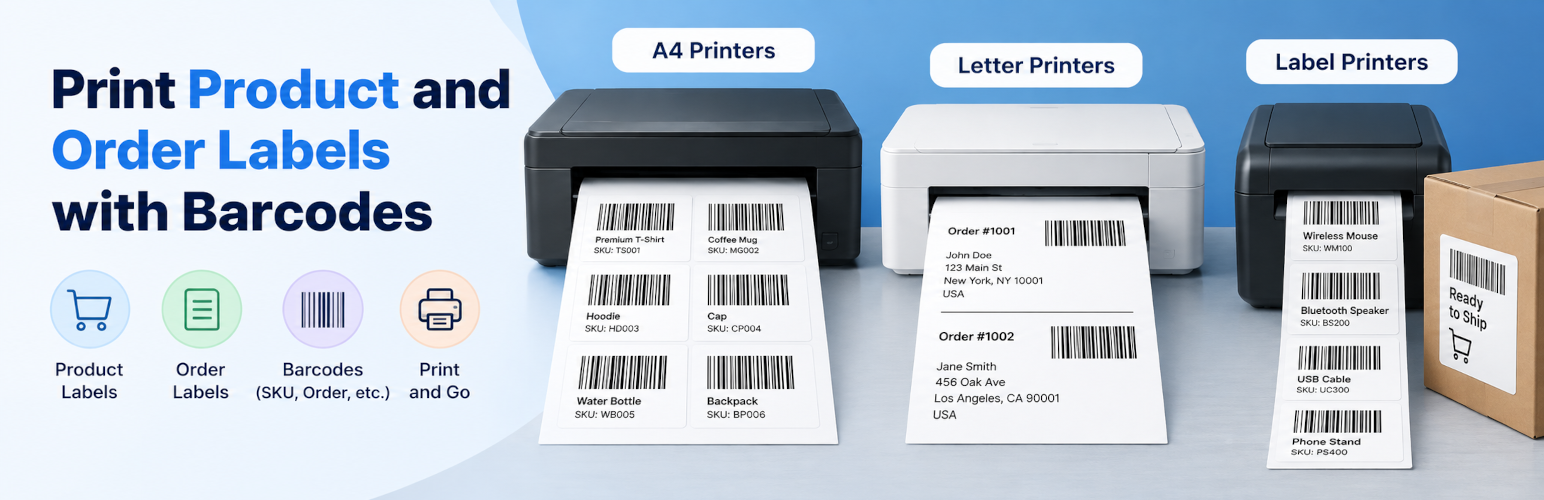
這款外掛提供了一個進階的列印工具,讓使用者能夠輕鬆生成條碼並直接從 WooCommerce 列印自訂的零售標籤,適合用於組織庫存或加速零售結帳流程。
【主要功能】
• 生成並列印產品、變體及訂單的條碼標籤
• 支援多種列印機型,包括 A4、Letter 和熱感式標籤列印機
• 靈活的數據映射,可從產品 ID、SKU 或自訂欄位生成條碼
• 自適應佈局,自動調整字型和佈局以符合標籤模板
外掛標籤
開發者團隊
② 後台搜尋「Barcode Generator: Print Product Labels & Order Barcode Label (A4, Thermal/Roll, Letter)」→ 直接安裝(推薦)
原文外掛簡介
Need to organize your store inventory or speed up your retail checkout counter?
This plugin is a advanced printing tool that allows you to easily generate barcodes and print custom retail labels directly from WooCommerce:
Supported Printers: Continuous Thermal Roll Printers, Multi-label A4 and Letter sheets.
Supported Barcode Formats: CODE128, CODE39, UPC-A/E, EAN-13/8, GTIN, GS1 family, DataMatrix, and QRCode.
Barcode data: Generate barcodes directly from Product IDs, SKUs, custom fields, order fields etc.
Core features
✔ Generate and print barcode labels for products, variations, and orders.
✔ Universal printer compatibility: Supports standard A4 sheets, Letter, P4, and Thermal Roll label printers (DYMO, Zebra, Brother, TSC, Rollo, etc.).
✔ Flexible data mapping: Generate barcodes from Product ID, SKU, GTIN, or custom fields.
✔ Adaptive layout rendering: Auto-scales font and layout sizing to fit standard sticker templates seamlessly.
All Features
Label Generation & Printing
Flexible Paper Media: Print instantly using popular built-in A4/Letter sheets (12, 14, 16, 21, 24, 40, 44, 56, 65, 120, 189, 230, or 324 barcodes per page) or create your own custom dimensions.
Supported Formats: Complete 1D and 2D support including CODE128, CODE39, QRCode, DataMatrix, GTIN, UPC-A, UPC-E, EAN-13, and EAN-8.
Variation Support: Generate independent barcode variations right from the WooCommerce attributes editor or bulk actions menu.
Vector Graphic Outputs: High-quality SVG rendering instead of compressed images, ensuring crisp lines that retail hardware scanners read perfectly.
Barcode compatibility: Barcodes can be scanned by any software and devices from hand-gun laser scanners to iOS and Android devices.
Label layouts and texts/fields (Free vs. Pro)
Free Version Capability: Includes 1 product/order text field on the label layout (it can be any field: Product Name, SKU, etc).
Premium Version Control: Unlock up to 8 combined product or order fields per label (Price, SKU, Attributes, Taxes, and custom meta fields).
Ecosystem Synergy: Scan & Manage Inventory
To completely close your retail loop, pair this printing utility with our companion WooCommerce Barcode Scanner Plugin. Once your printed labels are applied, you can instantly:
Blazing-Fast Search: Locate matching WooCommerce items or tracking logs using any handheld “Hand-Gun” USB scanner or smartphone camera app.
Automated Stock Updates: Automatically increase or decrease inventory counts instantly upon scanning an item.
Mobile Inventory Management: Use dedicated iOS and Android mobile apps to scan barcodes, alter data, or pick orders straight from your warehouse floor.
Fulfillment Guard: Activate “Order Fulfillment Mode” to verify and pick orders with 100% packing accuracy.
Troubleshooting & Printer Setup
Crucial for free version: Read This Before Printing or Leaving a Review!
Our plugin supports 99% of printers on the market (including standard HP/Canon A4 inkjet printers, and professional thermal roll printers like Dymo, Zebra, Brother, and Rollo).
However, browser-based printing depends entirely on your local hardware setup. If your labels look misaligned, cut off, or scale incorrectly, it is almost always due to incorrect operating system drivers or browser print preview configurations – not a plugin bug!
Please perform these quick calibration steps:
1. Install Official Drivers: Ensure you are using the official manufacturer printer driver for your OS (Windows/Mac), not generic plug-and-play drivers.
2. Disable Browser Margins: In your browser’s Print Preview dialog box, look under “More Settings” and set Margins to “None”.
3. Fix the Scale: Ensure your Print Preview Scaling is set to exactly “100%” or “Actual Size”. Never use “Fit to Page”, as it shrinks and distorts barcode proportions.
4. Match Paper Dimensions: The paper size selected in your browser settings must match the exact physical label roll or A4 sheet size loaded into your device.
Need Expert Help? Let Us Configure It For You!
Thermal and label printers can be notoriously difficult to calibrate correctly in OS/browser settings. Because of this, a major portion of our Pro Plans price goes directly toward covering personal, live technical support.
If you upgrade to our Pro version and encounter alignment issues, our engineers will connect directly to your PC or Mac via AnyDesk or TeamViewer to install your drivers, calibrate your margins, and ensure your system prints flawless, scan-ready labels automatically.
Real-World Use Cases
1. Speeding Up In-Store Retail POS Checkout
Imagine a boutique or retail storefront using WooCommerce to run their physical shop. Instead of manually typing product names or SKUs into the cash register during a busy rush, the owner uses this plugin to batch-print custom price tags with barcodes. Cashiers can instantly scan the printed labels on items using any standard USB barcode handgun or a smartphone camera. The exact product variation appears on the point-of-sale screen instantly, cutting customer wait times in half and eliminating typing mistakes.
2. Automated Inventory Tracking & Warehouse Audits
A rapidly growing e-commerce brand struggles with manual weekly stock counts in their warehouse. To fix this, they use the plugin to print high-density label sheets on standard A4 paper, applying a unique SKU tag (UPC, EAN, or GS1) to every shelf and product bin. During inventory audits, warehouse managers simply walk down aisles scanning barcodes with their iOS or Android mobile apps. They can instantly see live product information and update inventory counts on the fly, saving hours of manual spreadsheet data entry.
3. Error-Free Order Fulfillment & Packing Accuracy
A high-volume online store is losing money due to workers shipping the wrong product sizes or colors to customers. By integrating barcode label printing into their fulfillment workflow, the picking team can print custom itemized labels directly from the WooCommerce incoming orders screen. Before sealing a shipping box, the packer scans the barcode on the item and matches it against the order data. This quick double-check guarantees that the customer receives the exact variation they purchased, drastically lowering return rates and shipping costs.
Consider to upgrade to full version:
Full version gives you more control over data placed on the labels.
It has many more settings that allow you to customize the label layout to fit your specific needs.
Get full version here
More information about barcode plugin find here:
Barcode Labels Printing official page
FAQ
[Front-end source code] (https://github.com/ukrsolution/Barcode-Label-Printing-Front-end)