
內容簡介
查看實際演示
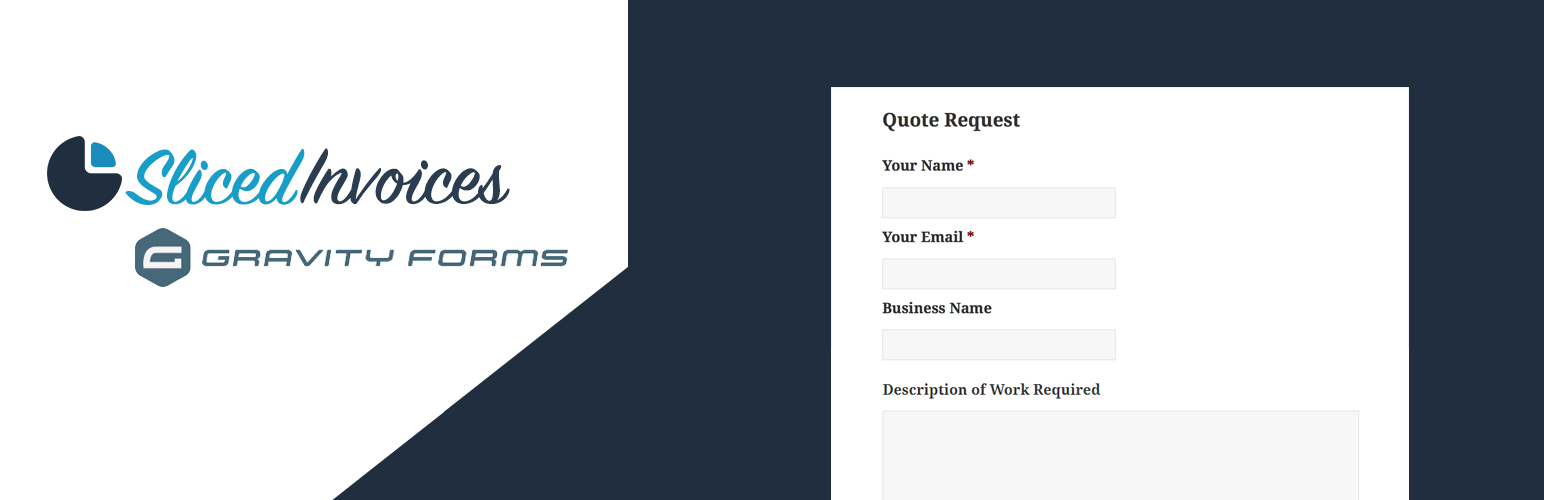
想像一下,您的網站上有一個表單,讓您的訪客基本上可以創建自己的報價和發票!
要求
Sliced Invoices外掛(免費)
Gravity Forms外掛(高級版)
設置表單
一旦您安裝並啟用了這兩個外掛,您只需要創建您的報價(或發票)請求表單,其中包含以下字段(必填字段用星號標記):
客戶名稱*
客戶電子郵件*
商業名稱*
地址
額外的客戶信息
訂單號(只顯示在發票中)
標題*(發票或報價的標題)
描述(發票或報價的說明)
行項目(請參見常見問題解答區的註釋)
設置進料
現在表單已設置完成,請導航到「表單設置」-> 「Sliced Invoices」創建新的表單進料。
現在只需選擇表單將創建發票或報價,並將每個字段名稱映射到您剛剛在表單中設置的字段。
將表單添加到您的網站
表單設置完成並映射字段後,您只需按照常規方式將表單短代碼添加到您的某個頁面中。當客戶填寫您的報價請求表單時,新的報價(或發票)將自動創建,所有其細節都被添加到報價中。
接著,您只需添加行項目和價格到報價中,然後就可以發送給客戶。
如果客戶填寫的電子郵件地址還沒與客戶綁定,則插件將自動創建一個新客戶並使用該電子郵件地址。
您也可以像通常一樣在Gravity Forms設置中設置確認和通知。
外掛標籤
開發者團隊
② 後台搜尋「Sliced Invoices & Gravity Forms」→ 直接安裝(推薦)
📦 歷史版本下載
原文外掛簡介
View Live Demo
Imagine having a form on your website that allows your visitors to basically create their own quotes and invoices!
Requirements
Sliced Invoices Plugin (free)
Gravity Forms Plugin (Premium)
Set up the Form
Once you have both plugins installed and activated, you simply need to create your Quote (or invoice) Request form that contains the following fields (required fields marked with an asterix):
Client Name*
Client Email*
Business Name*
Address
Extra Client Info
Order Number (only shown for invoices)
Title* (the invoice or quote title)
Description (the invoice or quote description)
Line Items (see notes in FAQ section)
Set up the Feed
With the form now set up, navigate to Form Settings –> Sliced Invoices to create a new form feed.
Now simply choose whether the form will create an invoice or quote and map each of the field names to the fields you have just set up in the form.
Add the Form to your site
With the form setup and the fields mapped, you simply need to add the form shortcode to one of your pages in the usual way. When a client fills in your Quote Request form, a new quote (or invoice) will automatically be created with all of their details added to the quote.
You then need to simply add the line items and pricing to the quote and it is then ready to send to the client.
If the email address that the client fills in is not already linked to a client, the plugin will automatically create a new client with this email.
You can also set up confirmations and notifications as per normal in the Gravity Forms settings.