前言介紹
- 這款 WordPress 外掛「MeestForWooCommerce」是 2021-04-27 上架。
- 目前有 40 個安裝啟用數。
- 上一次更新是 2025-04-09,距離現在已有 25 天。
- 外掛最低要求 WordPress 4.1 以上版本才可以安裝。
- 外掛要求網站主機運作至少需要 PHP 版本 7.0 以上。
- 尚未有人給過這款外掛評分。
- 還沒有人在論壇上發問,可能目前使用數不多,還沒有什麼大問題。
外掛協作開發者
deveu |
外掛標籤
post | shop | meest | commerce | woocommerce |
內容簡介
Meest為國際郵政和物流集團,詳細資訊請參閱我們的網站https://meest.com。
“Meest for WooCommerce”外掛程式可以把Meest的服務連結到您的網上商店,使您可以建立發票、快遞公司呼叫和管理它們。
設定
1. 前往「設定頁面」。
2. 輸入連接API的數據並保存設置。
3. 如果設置成功保存,請填寫其他數據。
4. 填寫關於代理、按照國際格式的電話號碼的數據。
5. 填寫有關包裹收集地址的數據。
6. 對於烏克蘭-可用的交付類型:地址和分店。城市和街道或分店-從列表中選擇。
7. 對於其他國家,僅提供地址交付。區域、城市、街道-手動輸入。
創建空包裹
1. 前往“包裹”頁面,並點擊“創建”按鈕。
2. 為了快速創建包裹-從頂部菜單“添加”中選擇“包裹”。
3. 填寫包裹的參數。
4. 包裝類型可以從列表中選擇或指定特殊尺寸。
5. 將發件人和收件人地址填寫與“設定”頁面相同。
6. 創建包裹後,可以編輯、刪除、追踪、添加到“取件”、取消“取件”並列印聲明和貼標籤。
按訂單創建包裹
1. 前往“訂單”頁面。
2. 對於選擇“Bridge”交付的訂單,將顯示“創建包裹”按鈕。
3. 點擊“創建包裹”按鈕或打開訂單並在右側面板上點擊“創建包裹”按鈕。
4. 數據會自動填充。
5. 您可以更改或添加有關包裹、發件人和收件人的信息。
6. 創建包裹後,發票號碼將顯示在訂單中,或在打開訂單時,您可以編輯包裹、追踪和列印聲明和貼標籤。
7. 如果您將訂單的狀態設置為“已發貨”,則自動向用戶發送一封帶有發票號碼的信件。
創建取件
1. 前往“包裹”頁面,並點擊“為包裹創建取件”按鈕。
2. 您也可以在取貨頁面上創建取件。
3. 填寫地址與包裹相同,指定快遞員到達的時間。
4. 右側是將包含在呼叫中的包裹清單。
5. 創建“取件”後,可以對其進行編輯和刪除。
原文外掛簡介
Meest is International Postal and Logistics Group, for detailed information – visit our website https://meest.com.
The “Meest for WooCommerce” plugin connects delivery from Meest to your online store, allows you to create invoices, courier calls and manage them.
Settings
1. Go to the ”Settings page”.
2. Enter the data to connect to the API and save the settings.
3. If the settings are saved successfully, fill in other data.
4. Fill in the data about the Agent, phone in accordance with the international format.
5. Fill in the data on the address of the parcel collection.
6. For Ukraine – available types of delivery: address and branch. City and street or branch – selected from the list.
7. For other countries, only address delivery is available. Region, city, street – entered manually.
Creating an empty parcel
1. Go to the page “Parcels” and click the button “Create”.
2. To quickly create a parcel – select “Parcel“ from the top menu “Add“.
3. Fill in the parcel parameters.
4. Types of packaging can be selected from the list or specify special sizes.
5. Filling in the address for the sender and recipient is the same as for the page ”Settings”.
6. After creating a parcel, you can edit, delete, track, add to the ”Pickups”, cancel the ”Pickup” and print the declaration and sticker.
Creating a parcel by the order
1. Go to the page “Order”.
2. For orders for which “Bridge” delivery is selected, the “Create parcel” button is displayed.
3. Click the button ”Create Parcel” or open the order and click on the button ”Create Parcel” in the right pane.
4. Data is filled in automatically.
5. You can change or add information about the parcel, sender and recipient.
6. After creating the parcel, the invoice number will be displayed in the orders or when you open the order, you can edit the parcel, track and print the declaration and the sticker.
7. If you set the status to ”Shipped” for the order, the user will be automatically sent a letter with the invoice number.
Creating a pickup
1. Go to the page “Parcels” and click the button “Create pickup for parcels”.
2. You can also create a pickup on the page Pickups.
3. Filling in the address is the same as for the parcel, specify the desired time of arrival of the courier.
4. On the right is a list of parcels that will be included in the call.
5. After creating the ”Pickup”, it can be edited and deleted.
1.0.5
Add authorizition by token
Add address dictionary by DB
Fix bugs
各版本下載點
- 方法一:點下方版本號的連結下載 ZIP 檔案後,登入網站後台左側選單「外掛」的「安裝外掛」,然後選擇上方的「上傳外掛」,把下載回去的 ZIP 外掛打包檔案上傳上去安裝與啟用。
- 方法二:透過「安裝外掛」的畫面右方搜尋功能,搜尋外掛名稱「MeestForWooCommerce」來進行安裝。
(建議使用方法二,確保安裝的版本符合當前運作的 WordPress 環境。
延伸相關外掛(你可能也想知道)
Google for WooCommerce 》, Google Listings & Ads可讓您輕鬆地向Google平台上的購物者展示您的產品。無論您是數位廣告的新手還是市場營銷專家,您都可以通過免費和廣告來擴大您的...。
 WooCommerce Shipping & Tax 》WooCommerce Shipping & Tax 外掛可讓基本的電子商務功能如運送更加可靠,并減輕了您的網站基礎架構壓力。, 使用 WooCommerce Shipping & Tax 外掛,...。
 WooCommerce PayPal Payments 》PayPal 最新、功能最完備的付款處理解決方案。除了接受 PayPal 獨有的付款方式,也可接受信用卡/借記卡和本地付款方式。開啟 PayPal 付款選項或處理完整的付...。
WooCommerce Legacy REST API 》總結:, - 在WooCommerce 9.0版本起,Legacy REST API將不再是WooCommerce的一部分。, - 這款外掛程式在WooCommerce 9.0及以後版本中還原了已移除的Legacy RE...。
WP Crontrol 》WP Crontrol 可以讓您查看和控制 WP-Cron 系統中正在發生的事件。從管理界面,您可以:, , 查看所有的 Cron 事件以及它們的參數、循環間隔時間、回撥函數以及...。
 PDF Invoices & Packing Slips for WooCommerce 》這個 WooCommerce 外掛可以自動為您的客戶在訂單確認電子郵件中添加 PDF 發票。包括一個基本模板(額外的模板可從 WP Overnight 購買),以及修改/建立自己的...。
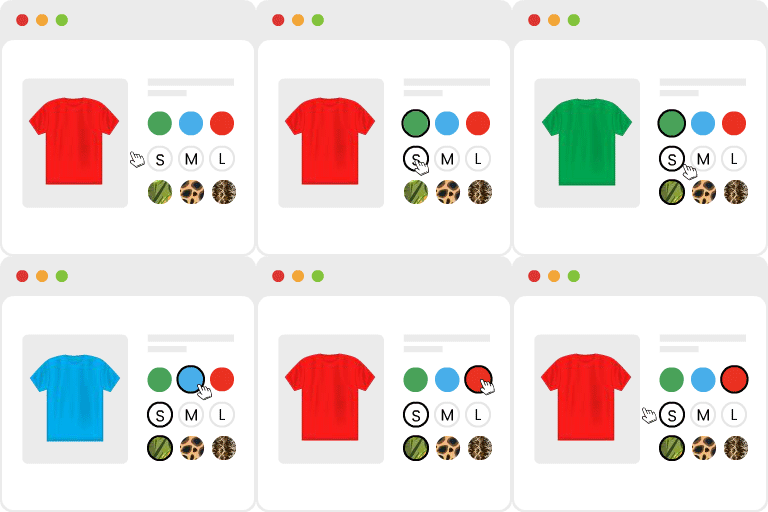
 Variation Swatches for WooCommerce 》為 WooCommerce 產品屬性打造美麗的顏色、圖片和按鈕變化的樣式, 如何安裝 WooCommerce 變化樣式外掛程式升級可變產品, , 變化樣式是易於使用的 WooCommerce ...。
 WooCommerce Cart Abandonment Recovery 》現在是時候停止購物車放棄行為,並找回您失去的收入了!, 研究顯示,約有60%至80%的使用者前往結帳頁面,但沒有完成購買。即使最佳優化的結帳流程也有20%的...。
Pinterest for WooCommerce 》Pinterest 提供人們下一個偉大的想法。它部分收藏品,部分市場,是數百萬個分享者獲取靈感、新產品和新可能性的一站式購物平台。它就像一個視覺搜尋引擎,引...。
 Google Analytics for WooCommerce 》這個外掛提供了 Google Analytics 與 WooCommerce 外掛之間的整合,您可以將推薦連結與購買關聯,並將交易資訊新增到您的 Google Analytics 資料中。它還支援...。
User Switching 》這個外掛可讓您輕鬆在 WordPress 中點擊按鈕即可快速切換使用者帳戶。您會立即登出並切換成所需使用者。這對於測試環境、協助 WooCommerce 網站上的客戶或任...。
WooCommerce Checkout & Funnel Builder by CartFlows 》#1 WooCommerce 結帳 & 漏斗建置外掛 – CartFlows, ★★★★★, 相較於其他所有的 WooCommerce 結帳選項,更多 WooCommerce 商店店主都選擇了 CartFlows。為什麼呢...。
 FiboSearch – Ajax Search for WooCommerce 》這是最受歡迎的 WooCommerce 產品搜尋外掛。它為您的用戶提供了一個設計良好的 AJAX 高級搜尋條和即時搜尋建議。, 預設情況下,WooCommerce 提供了一個非常簡...。
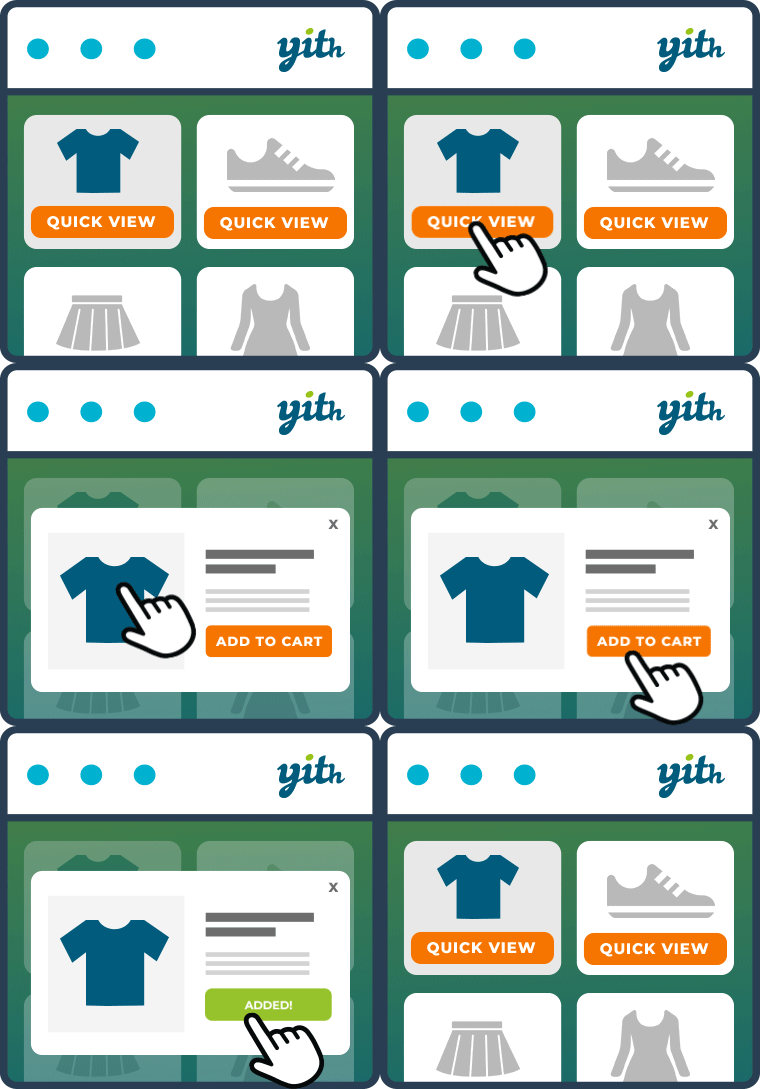
 YITH WooCommerce Quick View 》有時半途而廢是最好的:如果你正在檢視產品列表,但其圖片仍然太小,需要打開該產品頁面,等待載入,最後才能觀察你感興趣的項目。, 因此,為什麼不使用一種...。
 Custom Product Tabs for WooCommerce 》此外掛擴充了 WooCommerce 功能,允許商店擁有者針對產品添加自訂選項卡。這些選項卡顯示在每個產品頁面上,出現在預設的「描述」選項卡右側。, 個別產品選項...。
