前言介紹
- 這款 WordPress 外掛「Store Manager for WooCommerce – Advanced Stock Management & Unlimited Product Badge Customization」是 2024-05-30 上架。
- 目前有 10 個安裝啟用數。
- 上一次更新是 2024-10-26,距離現在已有 189 天。
- 外掛最低要求 WordPress 5.2 以上版本才可以安裝。
- 外掛要求網站主機運作至少需要 PHP 版本 7.4 以上。
- 尚未有人給過這款外掛評分。
- 還沒有人在論壇上發問,可能目前使用數不多,還沒有什麼大問題。
外掛協作開發者
外掛標籤
badge | label | inventory | woocommerce | product label |
內容簡介
WordPress 外掛總結:
這款 WordPress 外掛是一個強大的工具,旨在有效管理您網店的商品庫存。
問題與答案:
如何設定商品?
前往 WordPress 管理面板中的商店管理員頁面,找到新的庫存管理選項。
如何追蹤庫存?
當商品購買或補貨時,即時更新庫存水平。
如何控制庫存?
監控庫存並接收低庫存水平的警示。
原文外掛簡介
The ultimate store management plugin for efficiently managing WooCommerce stock while creating and customizing unlimited product badges for enhanced store optimization.
WooCommerce Store Manager is the all-in-one solution to streamline stock management and WooCommerce badge customization for your e-commerce store.
This Store Management plugin helps you efficiently track inventory levels, automate stock updates, and ensure you never miss a low-stock alert.
It also features a robust WooCommerce badge management system, allowing you to create, customize, and assign product badges like “Sale,” “New,” “Seasonal Sale,” and “Best Seller” to increase visibility and conversions.
If you want a seamless store management experience, WooCommerce Store Manager is the perfect choice!
The WooCommerce Store Manager plugin offers a range of features designed to streamline stock management and enhance product visibility in your store:
➤ Manage stock levels for simple and variable products from a single interface.
➤ Easily create and customize unlimited product badges, including “Sale,” “New,” and custom designs.
➤ Display product badges on shop and product pages to highlight promotions and special offers.
➤ Set up low-stock and out-of-stock notifications to stay updated on inventory levels.
➤ Hide or show out-of-stock products on your WooCommerce store.
➤ Customize the “Out of Stock” text on product pages.
➤ Enable backorders and notify customers when products are on backorder.
➤ Set low stock thresholds and receive automatic notifications when inventory runs low.
➤ Bulk manage stock for multiple products at once, saving time on inventory updates.
➤ Create date-specific product badges for limited-time offers or special events.
➤ Show stock levels and backorder status on product pages to inform customers of availability.
✅ WooComemrce Product Badge Management
A WooCommerce product badge is a visual label or icon displayed on product images in a WooCommerce store to highlight special information, such as Discount Sales, New Arrivals, Seasonal Sales, Best Sellers, or limited stock.
These badges help draw attention to key product features, encouraging customers to take action and improving overall sales and engagement.
WooCommerce Store Manager Supported Badge Types
New Product
Sale
Custom-Designed Badge
Discount Sales
New Arrivals
Seasonal Sales
Best Sellers
Limited Stock
Exclusive Offer
Clearance Sale
Featured Product
Hot Item
Trending Now
Price Drop
Flash Sale
Back in Stock
Limited Edition
Recommended Product
Eco-Friendly Product
Bundle Offer
Member Exclusive
Loyalty Program Reward
WooCommerce Badges Features:
Easy-to-use interface
Ability to add new product badges
Option to show label on badges
Select badge position on product images
Customize label font size, color, and background color
Add product discount text
Choose between label shape or image badge
Display labels on single product pages
Upload custom badges
Conditional badge assignment based on product category and price
Conditional badge assignment for out-of-stock products
How to add sale badge in WooCommerce?
A sale badge in WooCommerce is a visual indicator displayed on product images to highlight items that are on discount or promotion.
It typically appears as a label (e.g., “Sale”) and helps attract customer attention by signaling that a product is available at a reduced price.
Follow these steps to add a custom product badge to your WooCommerce store:
Step 1: Install and activate the WooCommerce Store Manager plugin.
Step 2: Navigate to Badge Manager and click on “Create New Badge.”
Step 3: Enter a title for your sale badge.
Step 4: Choose product selection: Select either “All Products” or “Limited Products” for badge display.
Step 5: Design your badge: Choose to create a custom badge design or use a pre-made sale icon/image.
Step 6: Set badge details: Input the “Badge Validity,” “Badge Text,” and customize the font size and weight.
Step 7: Adjust badge appearance: Configure the “Badge Dimensions,” “Badge Colors,” “Position,” and other design properties.
Step 8: Save your changes and exit.
Your WooCommerce store will now display the sale badge on selected products.
How to Create Custom Product Badges in WooCommerce?
Custom Product Badges in WooCommerce are visual labels added to product images to highlight specific features or promotions, such as “Sale,” “New,” or “Best Seller.”
These badges help attract customer attention, enhance product visibility, and boost conversions by signaling important product details or offers.
** Follow these steps to add a custom product badge to your WooCommerce store: **
Step 1: Install and activate the WooCommerce Store Manager plugin.
Step 2: Go to the “Badge Manager” section and click on “Create New Badge.”
Step 3: Name your custom badge (e.g., “Best Seller” or “New Arrival”).
Step 4: Select which products to apply the badge to: “All Products” or specific “Limited Products.”
Step 5: Design your badge by choosing from custom badge options or using a pre-made icon or image.
Step 6: Configure badge details such as “Badge Validity,” “Badge Text,” and adjust font size and weight.
Step 7: Customize the appearance by setting “Badge Dimensions,” colors, and positioning on product images.
Step 8: Save your changes and exit.
Your custom badge will now appear on the selected products in your WooCommerce store.
How to Enable Product Badges in WooCommerce?
To enable product badges in WooCommerce, first, install and activate the WooCommerce Store Manager plugin.
Then, navigate to the Badge Manager and click on Create New Badge
Enter a title for your badge and choose whether to apply it to All Products or Limited Products. Next, design your badge by selecting a custom design or a pre-made icon. Set the badge details by inputting Badge Validity, Badge Text and customizing the font size and weight.
Finally, adjust the badge’s appearance by configuring its dimensions, colors, position, and other properties, then save your changes to complete the setup.
How to add product labels in WooCommerce?
To add product labels in WooCommerce, start by installing and activating the Store Manager for WooCommerce. Next, navigate to the Badge Manager and click on “Create New Badge.”
Enter a title for your badge and choose whether to display it on “All Products” or “Limited Products.”
You can then design your badge by either creating a custom design or selecting a pre-made sale icon/image. Set the badge details by inputting the “Badge Validity,” “Badge Text,” and customizing the font size and weight.
Finally, adjust the badge’s appearance by configuring its dimensions, colors, position, and other design properties, and save your changes to finalize the setup.
✅ WooCommerce Stock Management
WooCommerce Stock Management is a feature that allows online store owners to efficiently manage inventory levels, track product availability, and automate stock updates in their WooCommerce store.
It provides tools for setting stock quantities, managing backorders, and sending low-stock notifications, ensuring that products are readily available for customers while preventing overselling.
➤ Table Editor – Easily edit stock data using table cells and dropdown menus. It’s fast and straightforward.
➤ Inline Edit – Add, update, or delete stock items. You can save changes for each product or variation one by one or save all the data at once.
➤ Stock and Price Management – Use the dashboard to update key product details, including: quickly
SKU
Product Name
Tax Status
Tax Class
Shipping Class
Regular Price
Sale Price
Stock Quantity
Stock Management
Stock Status
Backorders
Inventory Levels
➤ Support for All Product Types – Manage stock for simple, variable, grouped, or external/affiliate products.
➤ Customizable Admin Columns – Show or hide dashboard columns based on your need, keeping your dashboard clutter-free.
➤ Pre-defined Search Filters – Use built-in filters for Product Category, Product Type, and Stock Status to make quick edits. You can also search and sort by SKU or product name.
➤ Product Thumbnails – View the product’s thumbnail image for easy identification.
➤ Edit Variations – Click the “Show Variables” button to edit each variation separately for variable products.
How to manage stock in WooCommerce?
Step 1: Install WooCommerce Store Manager plugin
Step 2: Click Stock Management
Step 3: Enable the status of which product you want to manage
Step 4: Change the stock Quantity value
Step 5: Save the changes.
How to turn on low-stock notifications in WooCommerce?
Step 1: Install WooCommerce Store Manager plugin
Step 2: Click Stock Management
Step 3: Enable the status of which product you want to manage
Step 4: Go to Stock/Backorder, Click “Allow, notify customer ”
Step 5: Save and check the product page.
✅WooComemrce Backorder Management
A backorder in WooCommerce allows customers to purchase products that are currently out of stock.
Instead of waiting for an item to be restocked before accepting orders, you can enable backorders, letting customers buy the product right away and receive it once it’s back in stock.
Store owners have control over backorder settings, including whether to notify customers that an item is on backorder.
This feature helps you keep sales flowing even when inventory is low, ensuring customers can still place orders without waiting for restock
How to Display the Backorder Information in WooCommerce?
Step 1: Install the WooCommerce Store Manager plugin.
Start by installing and activating the plugin to access advanced stock management features.
Step 2: Click on Stock Management.
Navigate to the dashboard and select the “Stock Management” option to manage your products’ inventory.
Step 3: Select the product you want to manage.
Locate and choose the specific product where you want to enable backorders.
Step 4: Go to Stock/Backorder and select “On Backorder.”
In the product settings, find the stock/backorder section and mark the product as “On Backorder.”
Step 5: Save changes and check the product page.
Save your settings and view the product page to confirm that the “On Backorder” status is displayed for customers.
Now, customers will see that the product is available for backorder.
Why Choose WooCommerce Store Manager plugin?
Easy Inventory and Badge Management
With WooCommerce Store Manager, managing your store’s inventory is quick and simple.
Whether it’s updating stock levels or customizing product badges, the plugin gives you complete control over your products with minimal effort.
Enhanced Customer Experience
Better stock control means your customers always know product availability, while customized badges help highlight special offers, new arrivals, and more.
This makes your store more attractive and informative.
Boost Store Performance
Download the WooCommerce Store Manager plugin today to streamline your stock management and create unlimited product badges for better product visibility and optimized customer experience.
Support
For support and troubleshooting, please visit the plugin’s support forum on WordPress.
or
Mail to our suppor team. Our friendly support team is ready to assist you with any questions or concerns via email at shopmanagerx[@]gmail.com.
Compatibility
This plugin is compatible with the latest versions of WordPress and WooCommerce.
各版本下載點
- 方法一:點下方版本號的連結下載 ZIP 檔案後,登入網站後台左側選單「外掛」的「安裝外掛」,然後選擇上方的「上傳外掛」,把下載回去的 ZIP 外掛打包檔案上傳上去安裝與啟用。
- 方法二:透過「安裝外掛」的畫面右方搜尋功能,搜尋外掛名稱「Store Manager for WooCommerce – Advanced Stock Management & Unlimited Product Badge Customization」來進行安裝。
(建議使用方法二,確保安裝的版本符合當前運作的 WordPress 環境。
1.0.0 | 1.0.1 | 1.0.2 | 1.0.3 | 1.0.4 | 1.0.5 | 1.0.6 | 1.0.7 | 1.0.8 | 1.1.0 | 1.1.1 | 1.1.2 | 1.1.3 | 1.1.4 | trunk |
延伸相關外掛(你可能也想知道)
Google for WooCommerce 》, Google Listings & Ads可讓您輕鬆地向Google平台上的購物者展示您的產品。無論您是數位廣告的新手還是市場營銷專家,您都可以通過免費和廣告來擴大您的...。
 WooCommerce Shipping & Tax 》WooCommerce Shipping & Tax 外掛可讓基本的電子商務功能如運送更加可靠,并減輕了您的網站基礎架構壓力。, 使用 WooCommerce Shipping & Tax 外掛,...。
 WooCommerce PayPal Payments 》PayPal 最新、功能最完備的付款處理解決方案。除了接受 PayPal 獨有的付款方式,也可接受信用卡/借記卡和本地付款方式。開啟 PayPal 付款選項或處理完整的付...。
WooCommerce Legacy REST API 》總結:, - 在WooCommerce 9.0版本起,Legacy REST API將不再是WooCommerce的一部分。, - 這款外掛程式在WooCommerce 9.0及以後版本中還原了已移除的Legacy RE...。
WP Crontrol 》WP Crontrol 可以讓您查看和控制 WP-Cron 系統中正在發生的事件。從管理界面,您可以:, , 查看所有的 Cron 事件以及它們的參數、循環間隔時間、回撥函數以及...。
 PDF Invoices & Packing Slips for WooCommerce 》這個 WooCommerce 外掛可以自動為您的客戶在訂單確認電子郵件中添加 PDF 發票。包括一個基本模板(額外的模板可從 WP Overnight 購買),以及修改/建立自己的...。
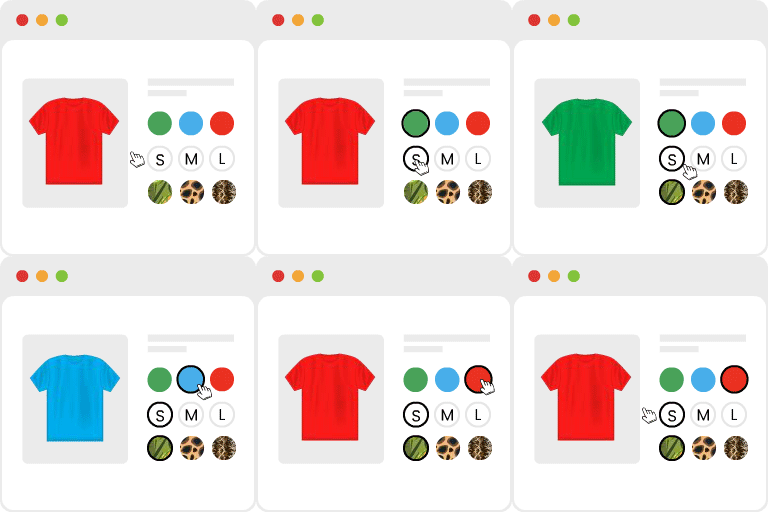
 Variation Swatches for WooCommerce 》為 WooCommerce 產品屬性打造美麗的顏色、圖片和按鈕變化的樣式, 如何安裝 WooCommerce 變化樣式外掛程式升級可變產品, , 變化樣式是易於使用的 WooCommerce ...。
 WooCommerce Cart Abandonment Recovery 》現在是時候停止購物車放棄行為,並找回您失去的收入了!, 研究顯示,約有60%至80%的使用者前往結帳頁面,但沒有完成購買。即使最佳優化的結帳流程也有20%的...。
Pinterest for WooCommerce 》Pinterest 提供人們下一個偉大的想法。它部分收藏品,部分市場,是數百萬個分享者獲取靈感、新產品和新可能性的一站式購物平台。它就像一個視覺搜尋引擎,引...。
 Google Analytics for WooCommerce 》這個外掛提供了 Google Analytics 與 WooCommerce 外掛之間的整合,您可以將推薦連結與購買關聯,並將交易資訊新增到您的 Google Analytics 資料中。它還支援...。
User Switching 》這個外掛可讓您輕鬆在 WordPress 中點擊按鈕即可快速切換使用者帳戶。您會立即登出並切換成所需使用者。這對於測試環境、協助 WooCommerce 網站上的客戶或任...。
WooCommerce Checkout & Funnel Builder by CartFlows 》#1 WooCommerce 結帳 & 漏斗建置外掛 – CartFlows, ★★★★★, 相較於其他所有的 WooCommerce 結帳選項,更多 WooCommerce 商店店主都選擇了 CartFlows。為什麼呢...。
 FiboSearch – Ajax Search for WooCommerce 》這是最受歡迎的 WooCommerce 產品搜尋外掛。它為您的用戶提供了一個設計良好的 AJAX 高級搜尋條和即時搜尋建議。, 預設情況下,WooCommerce 提供了一個非常簡...。
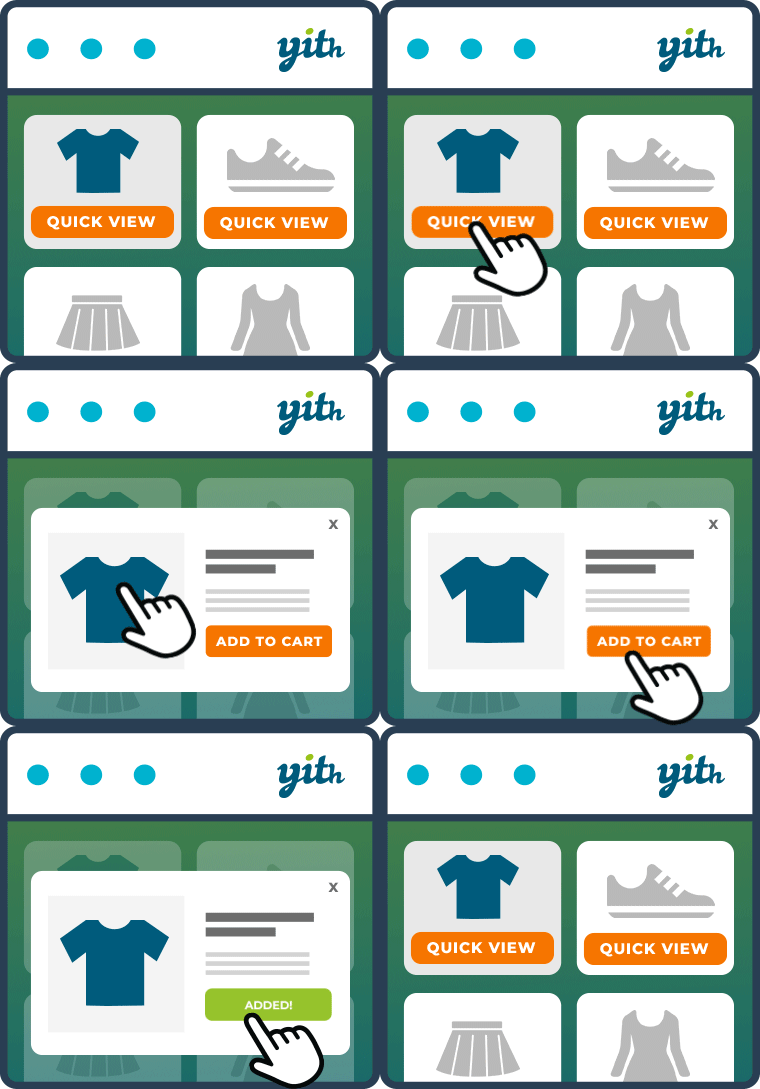
 YITH WooCommerce Quick View 》有時半途而廢是最好的:如果你正在檢視產品列表,但其圖片仍然太小,需要打開該產品頁面,等待載入,最後才能觀察你感興趣的項目。, 因此,為什麼不使用一種...。
 Custom Product Tabs for WooCommerce 》此外掛擴充了 WooCommerce 功能,允許商店擁有者針對產品添加自訂選項卡。這些選項卡顯示在每個產品頁面上,出現在預設的「描述」選項卡右側。, 個別產品選項...。
