
內容簡介
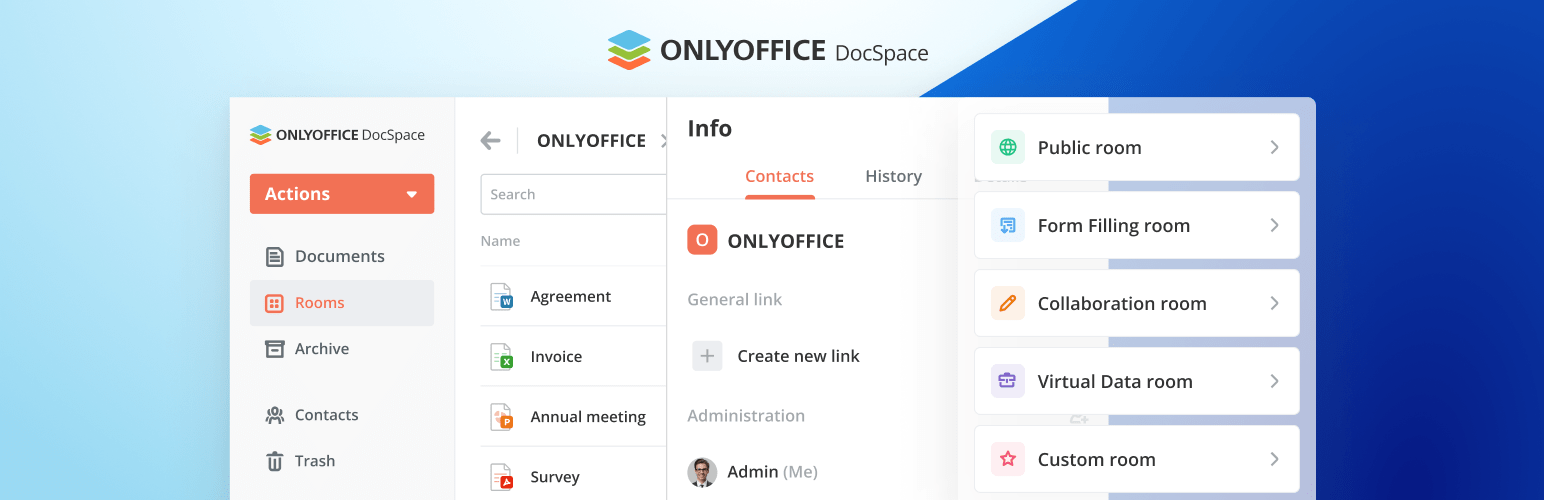
- ONLYOFFICE DocSpace外掛允許在WordPress內直接使用ONLYOFFICE DocSpace,用於創建房間、編輯和協作辦公文件,並且在創建文章時可以將DocSpace房間和其中的文件添加到WordPress頁面中。
- 導出用戶到DocSpace:在外掛設置頁面上點擊“立即導出”按鈕,將會打開一個包含用戶列表的頁面,其中包括具有upload_files權限的WordPress用戶。
- 添加用戶到DocSpace:在列表中勾選一個或多個用戶,從下拉列表中選擇“邀請到DocSpace”,然後點擊“應用”按鈕。
- 通過列表中的DocSpace用戶狀態列,您可以追蹤某個WordPress用戶是否已經添加到DocSpace。
- 綠色勾號:具有指定電子郵件的WordPress用戶已添加到DocSpace。同步成功。
- 空值:DocSpace中沒有具有指定電子郵件的WordPress用戶。您可以邀請他們。
- 沙漏:DocSpace中存在具有指定電子郵件的用戶,但同步存在問題。第一次登錄DocSpace外掛時,用戶需要提供DocSpace帳戶和密碼來完成同步。
- 在WordPress內使用ONLYOFFICE DocSpace:設置完整合外掛後,具有upload_files權限的用戶可以訪問ONLYOFFICE DocSpace,在其中可以創建協作和自定義房間、邀請用戶並在房間內協作文檔。
- 將DocSpace房間或文件添加到WordPress頁面:在創建文章時,可以添加ONLYOFFICE DocSpace元素(區塊)-房間或文件。
- 要添加房間,點擊“選擇房間”按鈕,選擇所需的房間,然後按“選擇”。在區塊設置中,可以指定要在頁面上顯示的寬度和高度。
- 要添加文件,點擊“選擇文件”按鈕,從房間中選擇所需的文件,然後按“保存”。
- 公開頁面上的房間和文件的訪問權限取決於WordPress頁面的公開狀態:
- 公開:DocSpace房間/文件對所有WordPress用戶可見。這些用戶使用公共用戶帳戶(WordPress Viewer)訪問內容。
- 私人:根據DocSpace現有的訪問權限,DocSpace房間/文件可供使用。如果用戶擁有所需的權限,可以進行協同文檔編輯。
- 外掛如何使用ONLYOFFICE DocSpace服務:
- 獲取DocSpace用戶列表
- 使用WordPress用戶數據在DocSpace中創建用戶
- 通過電子郵件獲取DocSpace用戶
- 為DocSpace用戶設置密碼
- 獲取DocSpace用戶的授權cookies
- 獲取DocSpace文件
- 獲取DocSpace文件夾
- 邀請用戶加入DocSpace房間
- 在前端插入以下DocSpace元素:
- 文件選擇控制
- 房間選擇控制
- 文件顯示控制
- 房間顯示控制
- 用於驗證的系統框架
- 有用的資源:
- ONLYOFFICE DocSpace使用條款
- 隱私政策
外掛標籤
開發者團隊
原文外掛簡介
With ONLYOFFICE DocSpace plugin, you are able to use ONLYOFFICE DocSpace right within WordPress to create rooms, edit and collaborate on office docs, as well as you can add DocSpace rooms and files stored within these rooms to the WordPress pages when creating posts.
Plugin installation and configuration
At first, go to your ONLYOFFICE DocSpace (sign in / sign up) -> “Settings -> Developer Tools – > JavaScript SDK”. There, enter your WordPress site address in the “Embed DocSpace as iframe” section.
A WordPress administrator can install the plugin via the Marketplace: https://wordpress.com/plugins/onlyoffice-docspace.
If you want to install the plugin via your WordPress administrative dashboard, navigate to the Plugins section and click “Add New”. Then, click “Upload Plugin” and select the zipped plugin.
Once ready, go to the plugin settings and specify the DocSpace address in the “Connection settings”.
Log in as DocSpace Admin
If DocSpace is successfully connected (as described above), the Log in as DocSpace Admin section appears on the Settings page. The DocSpace admin needs to log in here to perform the following actions:
export users from WordPress to DocSpace;
create a common user group WordPress Users in DocSpace;
add DocSpace users to this created group when exporting users, as well as add users to the group who have already linked accounts themselves.
After logging in using the Log in as DocSpace Admin option, the “Sign in” button will change to “Sign out”. Clicking this button on behalf of the designated DocSpace admin will disable any further user management actions (as outlined in the above list). The “Sign out” button is accessible to any user with permissions to the Settings page. For instance, if another DocSpace admin (admin 2) wishes to perform actions in the plugin on behalf of the initial admin (admin 1), they can unlink admin 1’s account in this section. Admin 2 can then log in by entering their credentials in Log in as DocSpace Admin.
User export (Optional)
Once the DocSpace admin is successfully authorized, an optional “User Export” block becomes available on the Settings page.
Clicking the “Open User List” button will redirect you to the WordPress Users page, where you can export users from WordPress to DocSpace. These users are exported under the authority of the DocSpace admin currently logged in via the Settings page. This means that any WordPress administrator can perform the export, as long as the DocSpace admin is authorized within the DocSpace plugin settings.
WordPress Users
The WordPress Users page introduces a DocSpace Account column once DocSpace is connected. This column indicates the connection status between WordPress user accounts and their corresponding DocSpace accounts. If the column contains a value, it signifies an established connection. Conversely, a dash indicates no connection has been made yet. Once the DocSpace administrator is authorized, the “Export to DocSpace” action becomes accessible.
Exporting users from WordPress to DocSpace
WordPress administrators have the ability to export users from WordPress to DocSpace. Exported users will gain seamless login to DocSpace, with an automatically generated password assigned to them. Their WordPress email address will serve as their login credential in DocSpace. Once exported, the user is added to the WordPress Users group in DocSpace.
If a WordPress user with an email address already registered in DocSpace is exported, a notification will appear. In this scenario, the user’s existing DocSpace credentials, including their password, remain unchanged.
To export a user, the WordPress administrator needs to navigate to the WordPress Users page. They can then select the desired user by checking the corresponding box, choose the “Export to DocSpace” option from the drop-down menu, and click the “Apply” button. The selected user will be successfully added to DocSpace with the User role.
Unlinking WordPress-DocSpace accounts
To unlink a WordPress account from a DocSpace account, the WordPress administrator should go to the WordPress Users page and select the checkbox next to the desired user. From the drop-down menu, choose “Unlink DocSpace Account” and click “Apply”. This action will remove the connection between the selected user’s WordPress and DocSpace accounts.
Working with ONLYOFFICE DocSpace within WordPress
User authorization
If a user already has a DocSpace account, they can log in using the DocSpace plugin for WordPress. To proceed, the user should access DocSpace through the left-hand menu or by opening the file/room selector within the WordPress site builder. An authorization window will then appear, prompting the user to enter their DocSpace login credentials. Once authorized, the user will automatically be added to the “WordPress Users” group in DocSpace. Once authorized, the user can seamlessly work within DocSpace or select the desired room or file using the selectors.
Logging out of the DocSpace account
To log out of the DocSpace account, open DocSpace from the left-hand menu. Access the context menu next to the user name, then select the Sign out option. This option is available to all DocSpace users.
Password recovery
If a user forgets their password or seamless login fails, they can click the Reset Password button during the login process. This will open a password reset window. If the entered email is registered in DocSpace, password reset instructions will be sent to that email address.
DocSpace in the left panel
Once the plugin is configured, DocSpace will become accessible to users with the upload_files capability. This includes standard WordPress roles such as Super Admin, Administrator, Editor, and Author.
Users will gain access to a fully functional DocSpace, where they can create rooms, invite participants, and collaborate on documents within rooms, based on their assigned permissions. When inviting others to a room using the Invite users from list button, only existing DocSpace users will be displayed.
Adding a DocSpace room or file to the WordPress page
When creating a post, you can add the ONLYOFFICE DocSpace element (block) – room or file.
To add a room, click the “Select room” button, select the desired room and press Select. In the block settings, you can specify the desired width, height, and theme (light/dark) to be displayed on the page.
To add a file, click the “Select file” button, select the desired file from the room and press Save. In the block settings, you can specify the desired width and height to be displayed on the page, as well as the view – a full editor or Embedded.
Access rights to a room/file on a DocSpace page
Access rights to rooms and files on the published DocSpace pages are defined based on the type of room and the user’s assigned permissions within DocSpace.
“Collaboration/Custom/VDR rooms” – Access to these rooms and their files is restricted to users who have been explicitly added. Users must be logged in to DocSpace to view them. Other users will see a placeholder instead.
“Public/Form Filling rooms” – The content in these rooms is accessible to all users, whether or not they have a DocSpace account.
How the plugin is using the ONLYOFFICE DocSpace service
The plugin allows working with office files via ONLYOFFICE DocSpace and makes the following requests to the service on the backend:
getting a list of DocSpace users
creating a user in DocSpace using WordPress user data
getting a DocSpace user by email
setting a password for a DocSpace user
getting authorization cookies of a DocSpace user
getting a DocSpace file
getting a DocSpace folder
inviting a user to a DocSpace room
On the frontend, the following DocSpace elements are inserted:
file selection control
room selection control
file display control
room display control
system frame for checking authorization
Useful resources:
ONLYOFFICE DocSpace Terms of use
Privacy Policy